

How to Publish a Custom React Component to NPM
- Keet Malin Sugathadasa
- May 26, 2021
- 5 min read


Have you ever encountered a situation where the same React component is being used in multiple places and multiple projects, and whenever you want to make a change, you simply have to update each code segment separately? Well, what if you could make this component shareable across multiple projects by maintaining it in a central repository for reusability? This is where NPM packages come into play. NPM packages allow developers to share their components (contributions) to everyone or a selected scope of users.
When working with a few React projects, you will come across instances where you want to reuse some components from your old code, and we tend to use the good old CTRL + C approach and copy the entire component to the next project. But, what if you want to share this across your organization or the entire world so that people don't have to go through the same trouble of re-developing the same component from scratch? When faced with this situation, you will try to package your component and push it to NPM. But, most articles I read through did not have straightforward approaches. Some were so complicated that I almost gave up the idea of sharing my components.
So in this article, I would like to show you how to publish your custom React component in NPM, via a simple approach. We will be using the create-react-library, to make our lives simpler. Let's get started...
Getting Started
1. Install Node
Let's get Node and NPM installed in your machine. Please download it from here. (Ignore if it is already installed).
2. Decide on a package name
Next, you need to decide on a package name. You can decide any name you want, but I suggest using something catchy, that people tend to easily search for it in Google and find your package name. You also need to make sure that this package name is already available. Go to https://www.npmjs.com/ and see whether your new package name is available by searching it on the search bar.
If you wish to scope your packages, you can use scoped packages. If you wish to make a scoped package, please use the following format for your package name.
@scopename/packagename
3. Create an NPM Account
Please sign up for a new account on this link, if you don't already have one.
3. Create a new Github Repository
Create a Github repository for this new package. It would be nice to create a repository with the same name as the package. But, feel free to use any name you want here.
Create the Required Code Infrastructure
This may sound very troublesome, but there is an easy command for us to create the initial code we want. Simply open up a terminal and run the following commands. Replace `<name of your package>` with your desired package name.
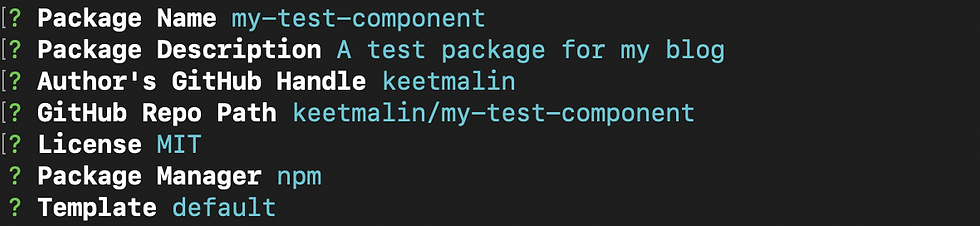
npx create-react-library <name of your package>With this, you will be asked a few questions. Please provide reasonably accurate information since you are planning on sharing this package. But, don't worry, you can change this later by editing the `package.json` file in the repo.
After you have done the above, all necessary code for publishing a component will be readily available. The folder structure will look like this.
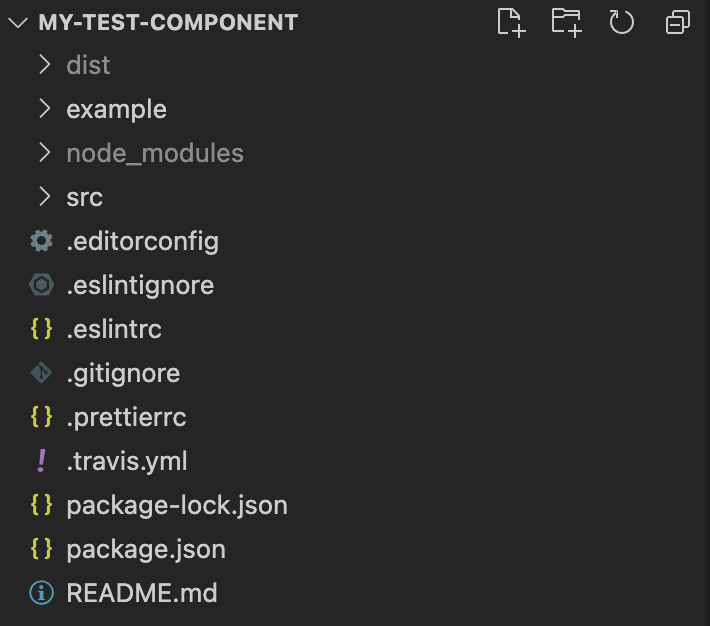
The folder named `example` will carry out usage samples of your component and it is also called the dev server. This will help you view your component while it is being built. Also, this folder can be used to prepare a website for your component as well. (Which will show sample usages of your component)
Next, let's get started with this new code. Execute the following commands. This is also given as a follow-up step, after running the above command.
To get started, in one tab, run:
$ cd my-test-component && npm startAnd in another tab, run the create-react-app dev server:
$ cd my-test-component/example && npm startThis will open up a browser tab and show the following app. Now you are ready to work on your custom React component.

Start Developing your Component
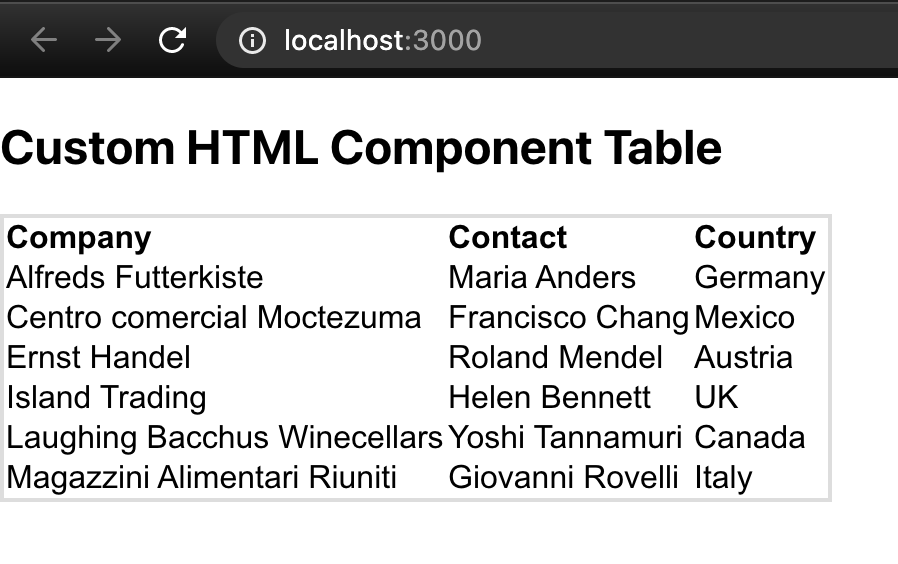
Now, go to `src/index.js` and add the code for your component. Whenever you add new code, have a look at this browser tab and see your code getting reflected in it. For this, I will be using a simple HTML table. The sample code is given below.
import React from 'react' const table = { 'font-family': 'arial, sans-serif', 'border-collapse': 'collapse', border: '2px solid #dddddd', 'text-align': 'left' } export const ExampleComponent = ({ text }) => { return ( <div> <h2>Custom HTML Component Table</h2> <table style={table}> <tr> <th>Company</th> <th>Contact</th> <th>Country</th> </tr> <tr> <td>Alfreds Futterkiste</td> <td>Maria Anders</td> <td>Germany</td> </tr> <tr> <td>Centro comercial Moctezuma</td> <td>Francisco Chang</td> <td>Mexico</td> </tr> <tr> <td>Ernst Handel</td> <td>Roland Mendel</td> <td>Austria</td> </tr> <tr> <td>Island Trading</td> <td>Helen Bennett</td> <td>UK</td> </tr> <tr> <td>Laughing Bacchus Winecellars</td> <td>Yoshi Tannamuri</td> <td>Canada</td> </tr> <tr> <td>Magazzini Alimentari Riuniti</td> <td>Giovanni Rovelli</td> <td>Italy</td> </tr> </table> </div> ) }
This will look like this.
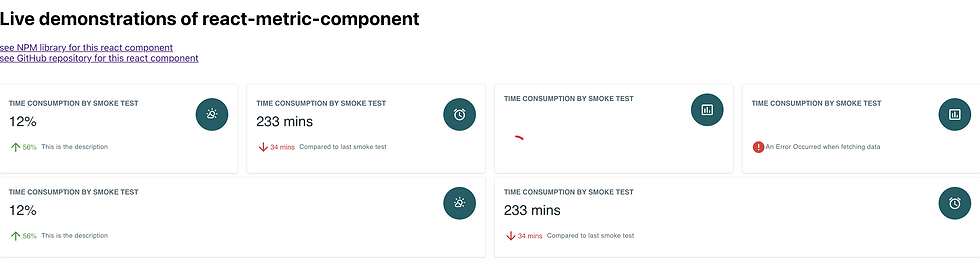
What you need to understand here is, your component code is in the `src` folder. But whatever that's shown in the browser is given in the `example/src` folder. Once you have finished your component in the `src` folder, I suggest, jump to `example/src` folder, and use your component in different ways (with different props maybe), and display different ways of using it. Think of this as the public visualisation of your component. An example representation is given in this site.
Just change the `example/src/App.js` file and demonstrate your component.
Now you are ready to publish your component.
Publishing your Component
If you are planning on publishing this as a public package, you need to have a proper documentation and a demo website. For starters, please push your code to the Github repository you specified.
Preparing your README Documentation
The documentation is your README.md file. Please add the necessary information on how to install, how to change, how to reuse and anything you feel is important in the document. This documentation will be displayed in NPM when your package is published. This is the front page you see on any component. Everything shown in the below image is the same as what is shown in the Github readme of that package.
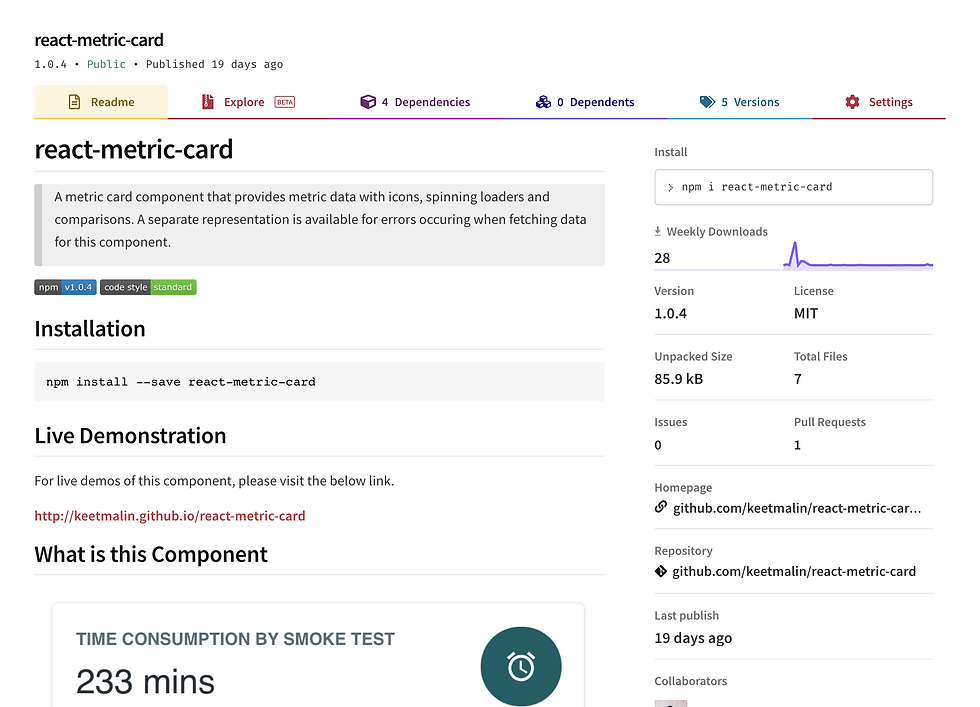
Everytime you make an update to the README.md file, you need to publish your component so that the package description gets updated. But please don't do that. Read the section below on how to do updates for your package.
Preparing a Demo Website
This website will show the users, how this component can be used. The code for this demo website is given in the `example/src` folder. With a simple command you can push this to a website via Github pages. Please include this URL in your README.md file as well.
Run the following command in the project root folder.
npm run deployIt will take a bit of time, but your page will be published in like 5 mins. Next, go to the following URL:
http://<github-username>.github.io/<repo-name>
Publish the component to NPM
To publish your component, simply run the following command in the project root folder.
npm publishWe are done!!! You will get an email saying it is successfully published. Congratulations!
If you wish to publish a scoped package (with @scope/package format), and if you also wish to make it public, use the following command.
npm publish --access=public Making updates to your component
When making updates, plan them as releases. Please avoid publishing every time you make a small change. Instead, make changes, bundle them, and publish as a release.
Next time when you want to publish another version of your component
Make necessary changes in your repo
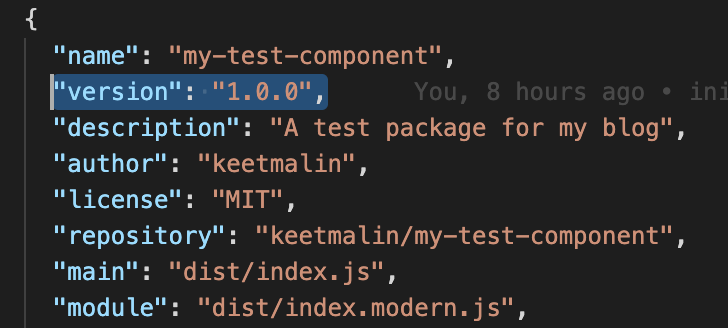
Update the version in the package.json file. If it is a minor change, simply bump the last decimal by one. According to the below image, your next version would be 1.0.1
And then run the following command.
npm publishIf you make any changes to your `example/src` directory, please update your demo page as well. For this, simply run the following command.
npm run deployCongratulations and Good luck to everyone who is planning on publishing their custom components to NPM. Your contributions are highly appreciated, and when you do it once, you will get addicted to publish more. Trust me ;)
Some of the packages that I have published are given below. Feel free to use or contribute to them when needed.


Comments